In the current lighting scene, obtaining an even, dotless glow defines the goal for quality home and structure projects. The Chip-on-Board (COB) method has transformed this field. However, an actual professional LED setup demands more than basic positioning.
Why Choose COB Technology for Your Perfect Lighting Installation?
The change to COB arises mostly from the desire for “pure” illumination. In contrast to typical SMD strips that display distinct diodes, the COB method produces a single uniform light source.
Saying Goodbye to Hotspots: Achieving True Seamless Linear Lighting
The main benefit of COB LED strip installation lies in removing “hotspots.” Workers place tiny LED chips directly on the PCB. Next, they apply a consistent phosphor covering. As a result, light diffuses right at the beginning. This leads to a seamless lighting effect. Such an outcome proves crucial for slim aluminum tracks or placements close to glossy materials such as polished rock or glass. In those cases, standard LED points would annoy viewers.
Superior Flexibility: How to Handle Tight Spaces and Complex Designs
Chips within a flexible COB LED lights setup measure much tinier than common 5050 or 2835 SMD LEDs. Therefore, the strip resists bending more effectively. This added bend capacity enables tighter bends in structure recesses or cabinet indents. Consequently, it prevents damage to solder joints. At SHIJILIGHTING, we emphasize the robustness of the flexible COB PCB. Thus, it preserves electrical stability in elaborate, premium layouts.
Pre-Installation Checklist: Preparation Determines Success
Prior to beginning to install COB LED tape, a thorough strategy is essential. It avoids typical issues such as irregular brightness or adhesive detachment.
Choosing the Right Voltage and Power: Key Considerations for 12V and 24V Systems
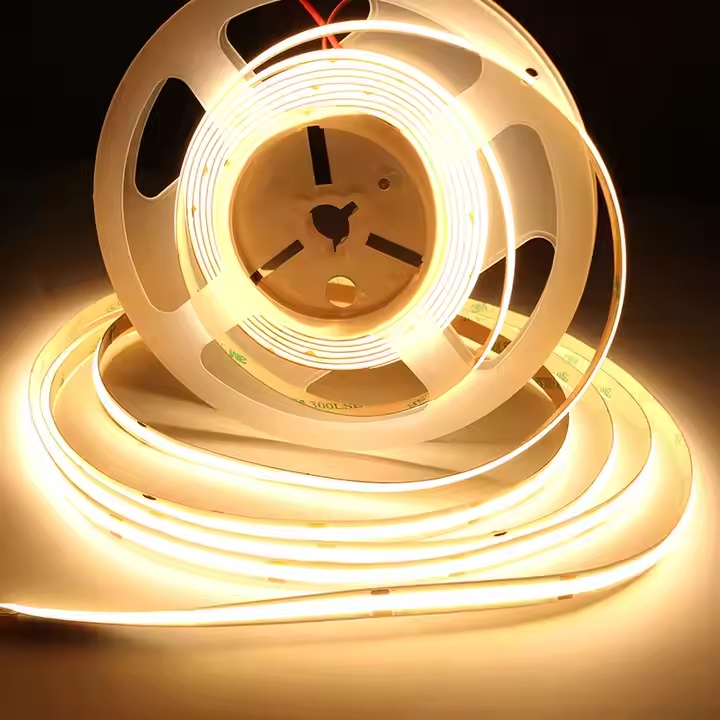
For household applications requiring dependable performance and extended lengths, we advise 24V setups. Our Manufacturer LED Neon Strip 24V IP68 6000K COB Strip Light For Home Lighting serves as a solid example of an expert-grade LED neon strip 24V IP68 6000K COB strip light intended for residential illumination. The 24V design decreases the amperage for any given output. Hence, it reduces warmth and halts major voltage drop in LED strips across greater distances.
Essential Tools and Accessories: From High-Quality Connectors to Professional Adhesives
Ensure your LED power supply includes no less than 20% surplus capacity beyond the total power requirement. In permanent arrangements, avoid depending entirely on the pre-applied adhesive if the base absorbs moisture. Instead, wipe the installation area with isopropyl alcohol for a clean finish. When avoiding soldering, select appropriate COB transparent connectors matching the PCB dimensions. This maintains uninterrupted light distribution.
Step-By-Step Guide: How to Professionally Install Your COB LED Strips?
The practical assembly phase combines attention with effectiveness. Proper handling of the strip prevents “dark spots” due to damaged phosphor.
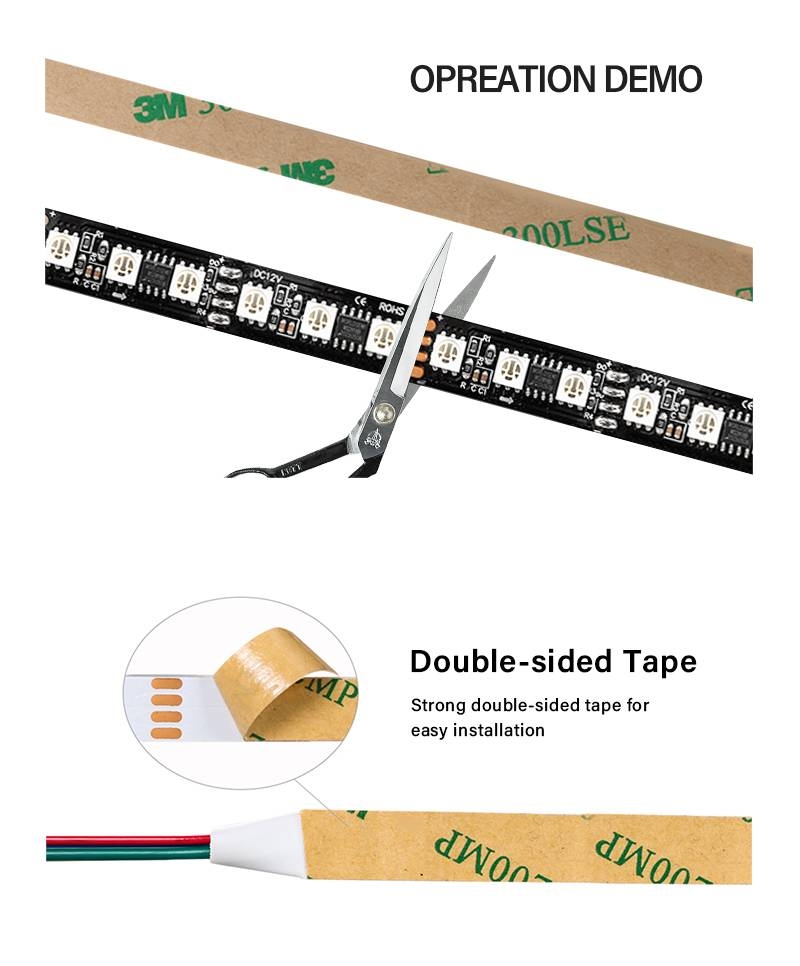
Precision Cutting and Surface Treatment: Ensuring a Solid Long-Term Foundation
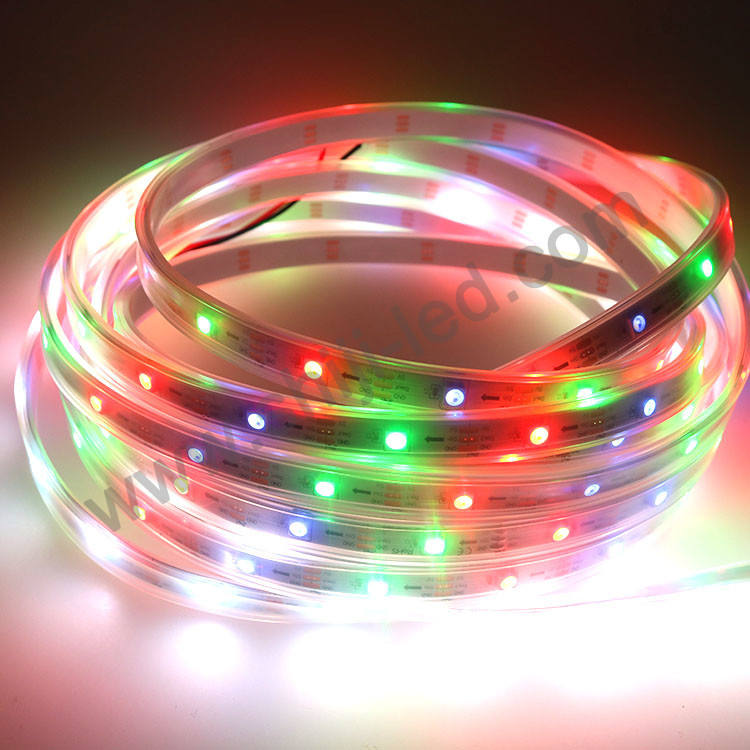
Accuracy counts heavily during cuts on packed strips. For seasonal or accent illumination, our Manufacturer Night Light LED Strip Neon Flex RGB COB Strip Light For Holiday Lighting (the Night Light LED Strip Neon Flex RGB COB) includes obvious cut indicators on the PCB. Straying beyond these marks causes non-working segments. Following the cut, verify the mounting base remains level and completely dry. Such preparation halts adhesive failure in the future.
Adhesion and Mounting Techniques: Avoiding Physical Damage During Installation
During mounting COB LED strips, refrain from pressing directly on the yellow phosphor section. Apply a steady force to the PCB borders instead. This shields the delicate chips beneath. Start from the power connection point. Proceed gradually along the length. Ensure no bubbles develop, as they might retain heat.
Advanced Tips: Solving Complex Corner and Connection Challenges?
Bends and joints represent frequent locations for LED strip lighting failures.
Lossless Connection Techniques: Comparing Soldering vs. Solderless Connectors
In commercial LED installations, we favor soldering generally. It delivers the most reliable, minimal-resistance joint. Nevertheless, with solderless options, opt for “seamless” varieties. They preserve the COB LED strip installation appearance without breaks. Moreover, they sustain the “neon” appearance across connections.
Perfect Corner Solutions: Achieving Smooth Transitions for 90 Degrees and Beyond
Avoid creasing a COB strip sharply at 90 degrees. Such action taxes the copper pathways. Employ a “ribbon loop” in the bend area alternatively. Alternatively, incorporate brief jumper cables to connect separate pieces. This extends the flexible COB PCB durability. It further ensures uniform illumination encircling the angle.
Performance Assurance: How to Prevent Voltage Drop and Extend Strip Lifespan?
At SHIJILIGHTING, we guarantee our products via a 2-year warranty. Still, the strip’s endurance relies greatly on its management of electricity and temperature.
Power Calculation and Wiring Logic: Ensuring Consistent Brightness Over Full Length
To evade voltage drop in LED Strips, which causes the far end to appear fainter than the near, consider a “parallel supply” or “dual-end feed” arrangement for spans exceeding 5 meters. This guarantees every chip receives reliable voltage for optimal operation.
Heat Management: Using Aluminum Profiles for Enhanced Texture and Durability
COB strips, though efficient, produce heat. Installing COB LEDs in aluminum profiles offers the finest method to disperse this energy. The profile functions as a thermal dissipator. This proves vital for high-intensity versions to avert phosphor deterioration or hue shift. Consequently, it upholds the seamless lighting effect, clear and vivid throughout its service life.
FAQ
Q: What is the correct way to cut a high-density lighting strip without damaging it?
A: Restrict cuts to the specified copper pads, typically indicated by a scissor symbol. In a COB LED strip installation, any other cut disrupts the circuit in that section. With our SJ-COB-RGB-24V model, inspect the PCB for precise cut intervals. This ensures all segments operate properly.
Q: How can I prevent the lights from flickering or dimming at the end of a long run?
A: Such issues stem primarily from voltage drop in LED strips. Address it by selecting a 24V system rather than a 12V system. Alternatively, supply power from both ends. Additionally, confirm your LED power supply meets high standards and matches the overall wattage. This yields a stable, flicker-free performance.
Q: Is it possible to use these strips in a bathroom or outdoor area?
A: Yes, provided the waterproof rating suits the environment. For professional LED setup in moist locations, choose a product like our SJ-COB-6000K-24V-IP68, which is completely protected from water. Furthermore, safeguard connections and the power source adequately. Doing so maintains eligibility for the 2-year warranty.
Q: Why do I see dark spots even though I am using a COB model?
A: Dark spots in a COB LED strip setup often arise from installation injury. Excessive force or abrupt bending can crack the phosphor coating, leading to chip malfunction. Grip the strip solely by its edges. Apply suitable bending approaches to safeguard the flexible COB PCB.
Q: Can I control the brightness of my setup with a standard wall switch?
A: Conventional switches merely activate or deactivate power. To achieve dimming COB LED strips, employ a compatible power source and dimmer (such as TRIAC, 0-10V, or DALI). Proper equipment enables intensity adjustment. It creates the desired ambiance free from humming or vibration.