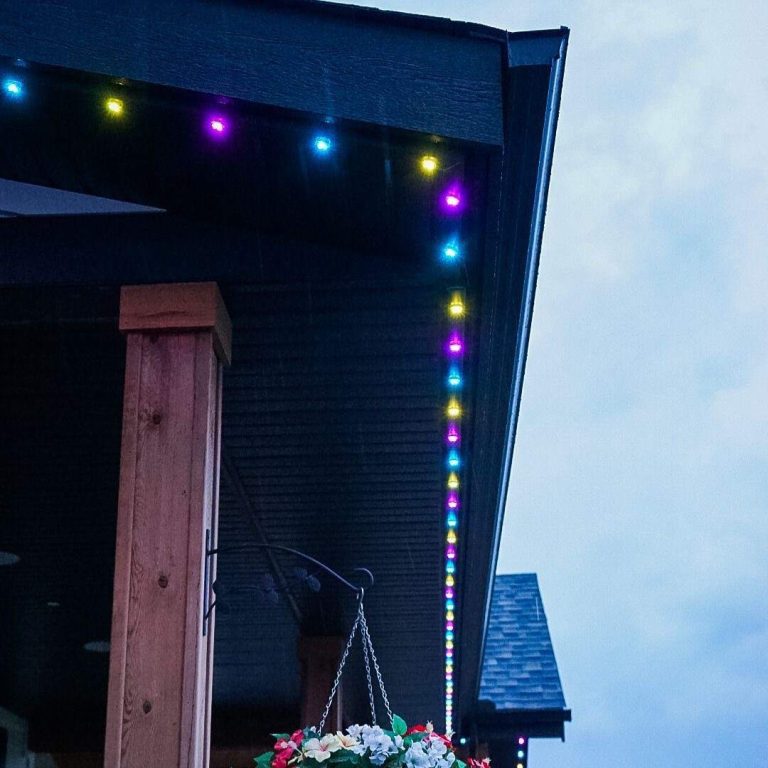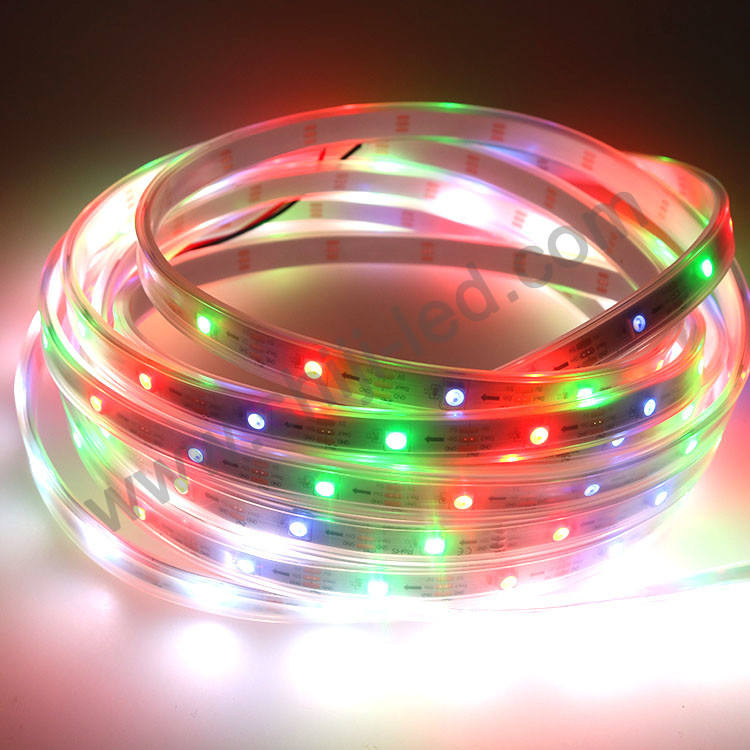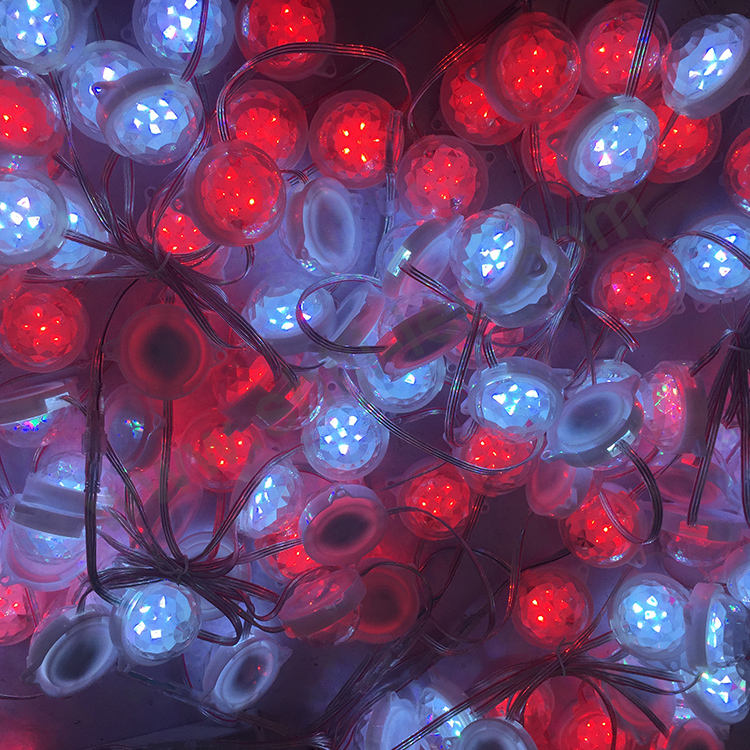
Buying a Pixel Light for an outdoor commercial project is not simply a matter of choosing a diameter, voltage, or IP rating. It must work with the mounting surface, viewing distance, power network, controller, cables, and maintenance plan. The specification should begin with the site and end with measurable acceptance tests. For a general technology overview, see Pixel LED types and applications; this guide focuses on creating a quotation-ready order.
Start with the Project Brief, Not the Pixel Light Catalog
A product catalog cannot resolve an incomplete project brief. Before requesting prices, define what viewers should see, where they will stand, how long the system will operate, and how technicians will reach it. These answers prevent suppliers from quoting different assumptions under similar-looking model numbers.
Define the Visual Effect, Viewing Distance, and Operating Conditions
State whether the installation is a facade effect, roof outline, landscape feature, sign, or seasonal display. Record viewing distance, animation detail, RGB or white-light needs, operating hours, temperature, sun, rain, salt or chemicals, and cleaning method. Identify access restrictions too: an inexpensive high-mounted pixel may be costly to replace.
Turn Drawings into Pixel Count, Spacing, and Circuit Zones
Mark every illuminated line on dimensioned drawings and specify center-to-center spacing instead of “high density.” Convert each run into pixel quantity, cable length, feed direction, and service zone. Numbered zones help calculate strings, controller ports, power supplies, and spares while creating a shared reference for mapping, labels, testing, and fault reports.
Choose the Right Pixel Format and Optical Output
Pixel format affects appearance and labor as much as light output. Evaluate the complete assembly: housing diameter, depth, lens, wire exit, connector, mounting accessory, and replacement method. A sample fixed to the actual substrate reveals more than a specification sheet alone.
Match Housing Size and Mounting Method to the Structure
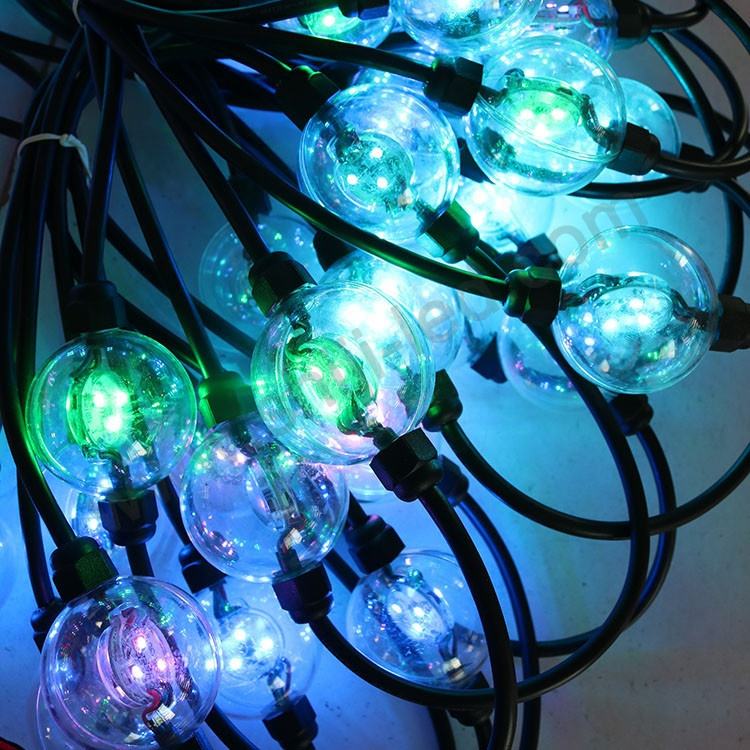
Check hole size, panel thickness, cable space, bend radius, drainage, and daylight appearance. Track mounting can simplify alignment and conceal wiring; inserted nodes may suit custom geometry. The Waterproof IP68 Digital Programmable 50mm Pixel String Light 7leds 24V LED Pixel Point Light is a larger-format example with a 50 mm housing, seven SMD5050 LEDs, 24 V operation, and a listed 140-degree beam angle. Confirm that its size, output, cable arrangement, and mounting suit the structure.
Specify RGB or RGBW, Beam Angle, Brightness, and Color Consistency
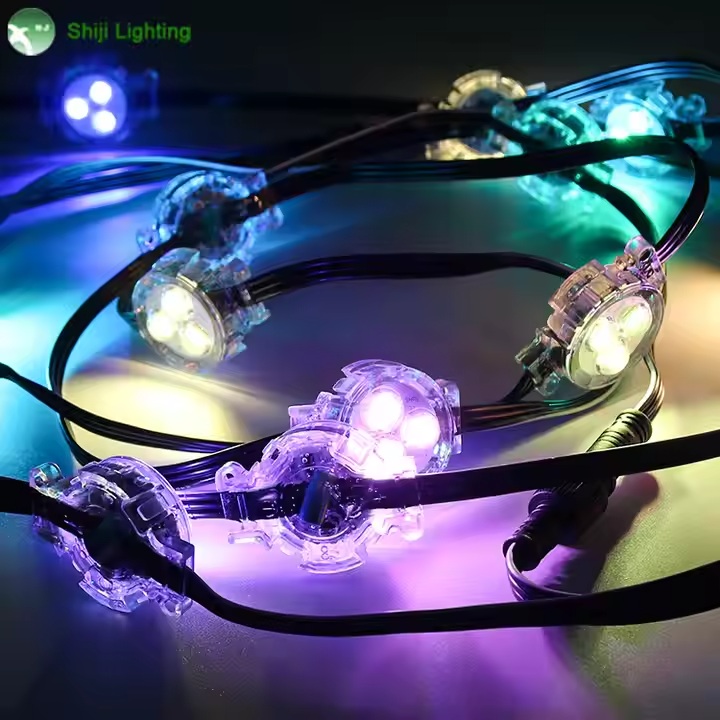
RGB is suitable when saturated effects are the priority; RGBW can provide a dedicated white channel when a project needs cleaner white light. The Manufacturer Christmas Track Point Light UCS2904 30mm RGB LED Pixel Light is a compact example with a UCS2904 IC and three SMD5050 RGBW LEDs, and its white-channel color temperature can be customized. Ask for measured output, beam angle, white CCT, color tolerance, diffuser appearance, and batch-matching criteria. Review pixels at full white and low dimming levels, not only in colorful demo effects.
Match Pixel Light Voltage, Power Distribution, and Control
Voltage and protocol labels do not constitute a system design. The quotation should show how power and data travel through every zone, what capacity is available, and how the installation behaves at its most demanding operating state.
Build a Circuit-Level Power and Voltage-Drop Plan
Request a circuit schedule listing pixel quantity, maximum watts per pixel, design load, supply capacity, cable gauge, length, protection, and injection points. Voltage drop must use the actual conductor and route; there is no universal injection distance. Require supply headroom. During the pilot, measure voltage near the supply and at the farthest pixel with the agreed worst-case pattern.
Confirm Protocol, Addressing, Mapping, and Controller Capacity
Confirm the pixel IC and protocol, then verify that the controller supports them without undocumented settings. Record pixels per port, frame rate, addressing, signal direction, pinout, and tested data distance. For DMX or ArtNet, include universe allocation and network responsibilities. Require an editable map, configuration backup, and recovery process after power loss or replacement.
Specify Outdoor Durability for the Complete Installation
Outdoor reliability depends on the weakest exposed component. A rating on the pixel body cannot automatically be applied to connectors, field joints, cable entries, power supplies, controllers, or enclosures. Define exposure for each part of the installed system.
Set Exposure-Based IP, UV, Temperature, and Material Requirements
Distinguish rain, driven water, pooling, immersion, washdown, and sheltered use. Ask which assembly was tested and whether its wire and connector configuration is covered. Specify UV resistance, temperature, housing material, corrosion, and relevant market requirements. When documents disagree, obtain written confirmation tied to the ordered model and drawing instead of assuming the higher rating.
Protect Connectors, Cable Entries, Power Supplies, and Data Lines
Show every connector and splice on the installation drawing. Define seals, strain relief, drip loops, drainage paths, enclosure glands, and the orientation of male and female ends. Place power and control equipment in suitable enclosures with ventilation or thermal management. The electrical design should also address grounding, overcurrent protection, isolation, surge exposure, and service disconnects. Test a completed representative connection, not just an unopened factory pixel, under realistic handling and water exposure.
Evaluate Installation, Maintenance, and Supplier Readiness
The lowest unit price can lose its advantage through slow commissioning or difficult repairs. Compare proposals on documentation, repeatability, service access, spares, warranty scope, and the supplier’s ability to reproduce the approved sample.
Design for Commissioning, Fault Isolation, and Field Replacement
Divide the installation into labeled, serviceable zones. Agree on string direction, start addresses, connector location, test points, and replacement steps. Order spare pixels, leads, mounts, controllers, and power supplies from the approved batch. Record how replacement affects addressing and mapping. Handover drawings, configuration files, test values, batch information, and a fault-finding sequence.
Verify Drawings, Test Records, Certificates, Warranty, and Change Control
SHIJILIGHTING has manufactured digital LED products since 2010 and supports pixel lights, strips, neon products, controllers, and customized voltage, IC, waterproofing, dimensions, and packaging. Our production process includes incoming-material inspection, semi-finished testing, and finished-product aging before shipment. For a commercial order, we recommend approving drawings, pin definitions, samples, and destination-market documents before production. Buyers should also confirm warranty coverage, response procedure, batch records, and written notification before any IC, LED, cable, connector, lens, or sealing material changes.
Use Samples and a Pilot Before the Production Order
A controlled pilot turns marketing claims into project evidence. Use the intended controller, power supplies, cable lengths, connectors, mounting surface, and software so the test represents the final system rather than a short demonstration string.
Request a Complete Pre-Quotation Data Package
Send every bidder the same drawings, quantities, spacing, zone lengths, schedule, exposure, color requirements, control platform, input power, connector preference, accessories, spares, certificates, and delivery details. Request a bill of materials, wiring diagram, data topology, load calculation, datasheets, controller capacity, customization limits, lead times, warranty terms, and handover-file list.
Run Sample, Pilot, and Batch Acceptance Tests
Inspect dimensions, labels, cable exits, connectors, and fit. Test RGB and white output, dimming, animation, camera refresh when relevant, mapping, full-load voltage, temperature, restart, and fault recovery. Water-test representative connections and inspect seals after repeated assembly. Define incoming checks for appearance, color, power, addressing, accessories, documents, and a sample quantity that can reveal variation.
FAQ
Q: What Pixel Light voltage is best for a commercial outdoor project?
A: Choose voltage from the circuit design, not by habit. Longer runs may benefit from a higher distribution voltage, but pixel power, cable gauge, run length, injection points, controller compatibility, and local electrical requirements must all be calculated together.
Q: Is an IP68 Pixel Light automatically safe for every outdoor installation?
A: No. The rating may apply only to a tested pixel assembly. Confirm the scope and separately protect connectors, field joints, cables, power supplies, controllers, and enclosures for the site’s actual water and dust exposure.
Q: How should Pixel Light spacing be selected?
A: Base spacing on viewing distance, surface geometry, desired image detail, brightness, and budget. Test a short section at the real viewing distance, because tighter spacing increases pixel count, power, controller capacity, cabling, and installation labor.
Q: How do I know whether a controller is compatible with the Pixel Light?
A: Match the pixel IC and protocol, then verify port capacity, addressing, signal direction, frame rate, data distance, mapping software, connector pinout, and recovery behavior. Ask the supplier to demonstrate the proposed combination during the pilot.
Q: How many spare Pixel Light units should a commercial project order?
A: Set the spare quantity from project size, access difficulty, operating importance, warranty lead time, and availability risk. Include matching pixels plus critical connectors, mounting parts, power supplies, and controllers from the approved batch, and document their storage and replacement procedure.